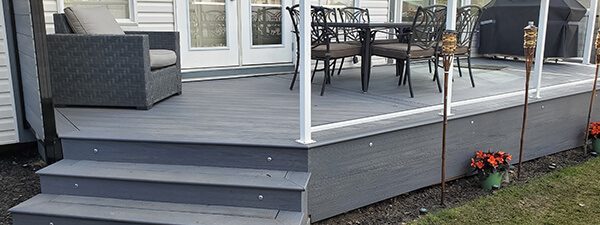
Building a deck is a great way to gather your family and enjoy dinner in the summer breeze. It can also help increasing your home value.
If you are a do-it-yourselfer looking to save money from insanely expensive contractors, follow these simple steps:
-
Design your deck
The first step would be planning the layout of your deck and how you are willing to place the boards. You may install them either perpendicular to the joists, diagonally or even create a creative geometric shape right in the middle. All you need to do is sketch it out on a piece of paper and it will come to life.
-
Get the measurements
The measurements of your deck must follow the building requirements of your area. You also need to consider having enough room to put outdoor furniture and to move around.
Once you have all the measurements in hand, ask for a quote from one of our sales representatives. The quote will include a list of the boards and fasteners you need to build your deck.
-
Install the composite deck boards
We recommend starting with the nosing boards as framing will help defining the limits of the deck. The finishing / nosing boards are screwed to the joist using a nosing clip and a screw. Trim the edges of the boards at a 45° for a better-looking finish.
Next, measure the space between the installed nosing planks and trim the standard boards using a circular saw if necessary. Fasten the hidden clips onto the joists and slide in the next standard boards, repeatedly. The clips should go inside the board’s grooves.
-
Install fascia boards
No deck is complete with a skirt! Installing the fascia boards is the last step and it will enhance the final look of the deck.
First, you need to predrill the boards using a 1/8’’ drill bit. Then, you fasten the board to the rim joist/beam using coloured screws.
Don’t forget to visit our installation guide for more details on how to build a composite deck.
 CANADA – ENGLISH (CAD$)
 United States – ENGLISH (USD$)
 Company

