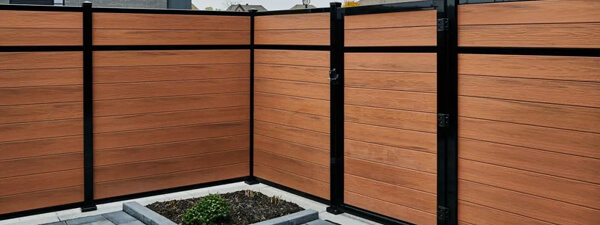
A fence can add privacy and architectural character to your backyard or garden. Therefore, it creates a cozy relaxing space for all the family to enjoy.
Most of people think that it is not possible to build a fence without having to dig and get into the mess of concrete in order to burry the posts. Luckily for everyone, it is not always the case. There are actually some excellent various methods to install a strong and durable fence. Find below how to install a fence post.
-
Screw the posts on a deck frame:
This method is a great way to boost and accent your deck. The posts are bolted directly onto the nosing / finishing boards using 4 lag screws 4’’ per post.
-
Screw the posts on the fascia / skirt of a deck:
This type of installation works best for small decks. It maximizes the space and allow to save at least 6 inches from each side of the deck. The posts are attached to the fascia using brackets are that 7.5-inch-long. The bracket is attached to the fascia using lag screws 4’’ and to the post using gate screws.
-
Bolt the post on a retaining wall:
Prior to install the posts, make sure the retaining wall is at least 10-inch-wide. This method adds further height to your fence and gives a better privacy to your property.
-
Bolt the post on a steel pile:
Bolting the post on a galvanized steel pile offers the possibility to remove the post at a later date. The pile is 3-foot-long and is inserted in concrete. The post is secured using 4 bolts with nuts.
-
Mounting the post on a concrete wall (fascia bracket)
We recommend this method when you would like to install the post on your house wall or when you don’t have enough space to maneuver right next to your house. You would need to attach the bracket to the wall using 4 x 1/2 x 5 1/2 hot galvanized concrete anchors. Then, the post is secured to the bracket using 6 gate screws.
For more details, we warmly invite you to visit our installation guide or our Youtube videos.
 CANADA – ENGLISH (CAD$)
 United States – ENGLISH (USD$)
 Company

